
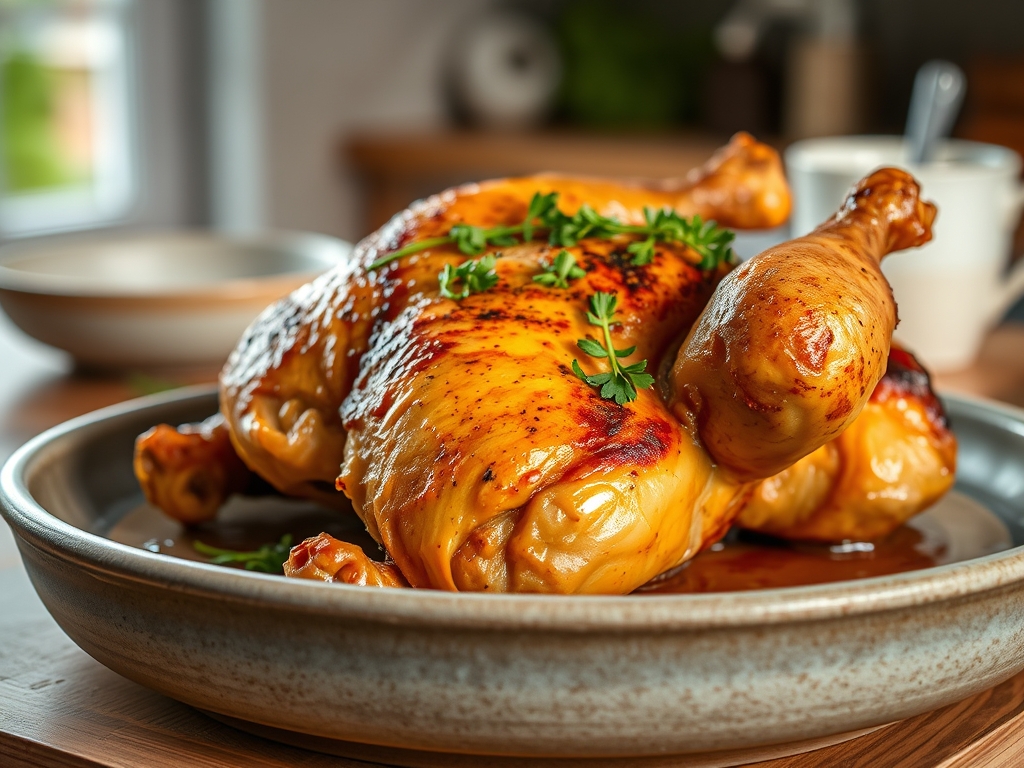
Imagine the sound of a knife blade scraping across a surface so brittle it shatters like glass. That is the auditory hallmark of perfection. When you master air fryer whole chicken recipes, you are not just cooking dinner; you are conducting a high speed thermal experiment. The air fryer functions as a miniature convection powerhouse, circulating superheated air to mimic the effects of deep frying without the vat of oil. We are talking about skin that is lacquered and golden, protecting meat so succulent it practically falls away from the bone at the mere suggestion of a fork. This is the ultimate weeknight flex. It is faster than a standard oven and far more consistent than a rotisserie. By the time you finish this guide, you will understand the molecular magic that turns a humble bird into a masterpiece of texture and flavor. We are moving beyond basic roasting into the realm of professional culinary physics, ensuring every inch of that bird is seasoned to the marrow and cooked to a precise, juicy finish.
The Gathers:
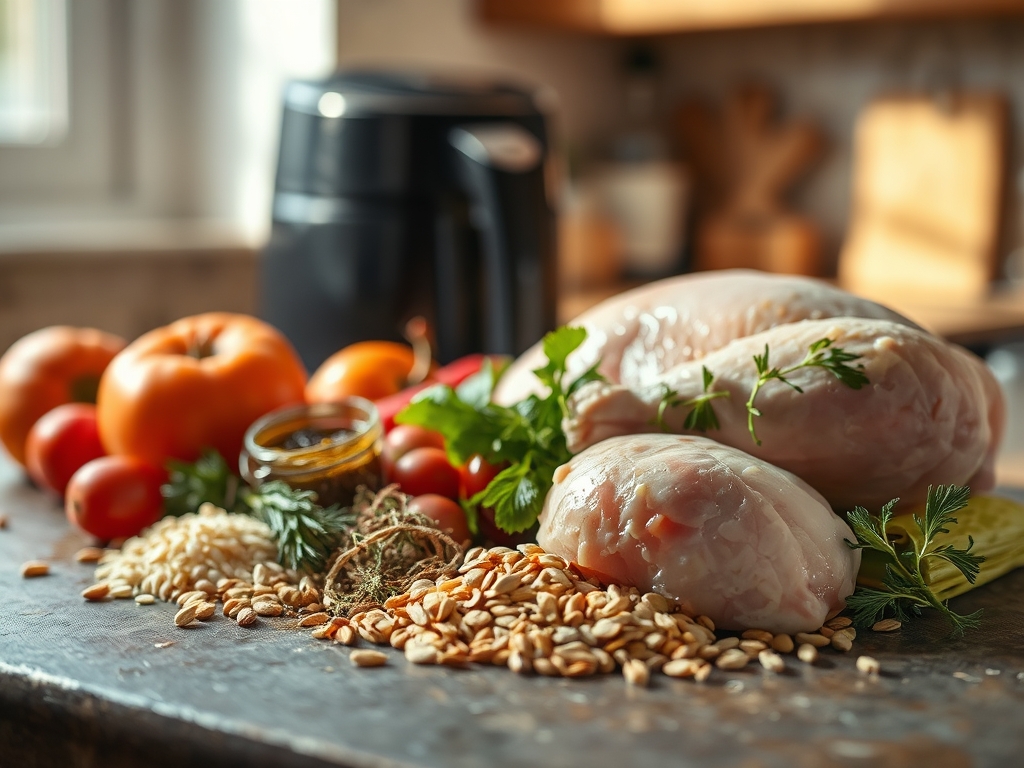
To begin, we must assemble our toolkit and ingredients with the precision of a chemist. You will need a four to five pound bird; any larger and you risk impeding the airflow necessary for that signature crunch. Grab your digital scale to ensure your salt ratios are exact. You will also need a microplane for zest, a small saucier to melt your aromatic fats, and a pair of high quality tongs for the mid cook flip.
The ingredient profile focuses on maximizing the Maillard reaction. You need a high smoke point oil like avocado or grapeseed oil; olive oil can sometimes scorch under the intense fan speed. Your dry rub should include kosher salt, smoked paprika for color, garlic powder, and a touch of cornstarch. The cornstarch is a secret weapon that absorbs residual surface moisture, leading to a more viscous and crispy skin.
Smart Substitutions: If you are out of avocado oil, use rendered duck fat or ghee for an even deeper flavor profile. For a piquant kick, swap the paprika for gochugaru. If you need a sodium alternative, use a high quality coconut aminos spray, though you will need to adjust your cooking time as the sugars will caramelize faster.
The Clock: Chef's Flow
Efficiency in the kitchen is about managing the "Chef's Flow." Total active prep time is roughly 15 minutes, while the air fryer handles the heavy lifting for 50 to 60 minutes.
The first 10 minutes are dedicated to "tempering" the meat. Never throw a cold bird into a hot basket. Allowing the chicken to sit at room temperature ensures the muscle fibers do not seize up, which leads to toughness. While the bird tempers, preheat your air fryer for at least 5 minutes. This creates an immediate thermal shock when the chicken hits the basket, sealing the exterior. The actual cook time follows a 15 minute per pound rule at 350 degrees Fahrenheit, with a final 5 minute blast at 400 degrees to finish the skin.

The Masterclass:
1. The Desiccation Ritual
Pat the chicken dry with paper towels until the skin feels like parchment. Moisture is the enemy of crispiness. Use a bench scraper to clear your workspace of any stray bits.
Pro Tip: This process utilizes evaporation. By removing surface water, the energy of the air fryer goes directly into browning the skin rather than boiling off surface moisture.
2. The Aeration Gap
Gently lift the skin away from the breast meat using the handle of a spoon. This creates an air pocket where fat can infuse the meat directly.
Pro Tip: This creates a secondary convection chamber. The hot air trapped under the skin renders the subcutaneous fat, essentially frying the skin from both sides simultaneously.
3. The Lipid Coating
Apply your oil and spice blend thoroughly. Use your hands to ensure every crevice is coated. This is where your saucier comes in handy if you are using melted fats.
Pro Tip: Fat acts as a heat conductor. A uniform layer of oil ensures that the heat from the air fryer is distributed evenly across the irregular surface of the bird.
4. The Trussing Technique
Tie the legs together with kitchen twine. This keeps the bird compact and prevents the wingtips from burning before the thighs are done.
Pro Tip: Trussing reduces the surface area of the extremities. This protects the lean breast meat from overcooking while the dark meat reaches its required internal temperature.
5. The First Flip
Place the chicken breast side down in the basket. This allows the juices to pool in the breast meat during the first half of the cook.
Pro Tip: This utilizes gravity and thermal carryover. The fats from the dark meat drip down into the white meat, keeping it hydrated during the most intense heat phase.
6. The Midpoint Rotation
At the 30 minute mark, use your tongs to flip the bird breast side up. This is when the skin on the top will begin to lacquer.
Pro Tip: Flipping ensures that the "hot spots" of your specific air fryer model do not cause uneven browning. It promotes a symmetrical cook.
7. The Final Blast
Increase the temperature to 400 degrees for the last 5 to 7 minutes. Watch the skin closely through the viewing window if you have one.
Pro Tip: This is the "Dehydration Phase." The high heat quickly evaporates any remaining fats on the surface, leaving behind a crisp, cellular structure.
8. The Temperature Check
Use a digital thermometer to ensure the thickest part of the thigh reaches 165 degrees Fahrenheit. Avoid hitting the bone, which can give a false reading.
Pro Tip: Accuracy is vital for safety and texture. Carryover cooking will typically raise the internal temperature by another 3 to 5 degrees once removed.
9. The Rest Period
Transfer the chicken to a warm plate and let it rest for at least 15 minutes. Do not tent it with foil, as this will steam the skin and make it soggy.
Pro Tip: Resting allows the muscle fibers to relax and reabsorb the internal juices. If you cut it too soon, the liquid will escape, leaving the meat dry.
The Deep Dive:
From a nutritional standpoint, a four ounce serving of air fryer chicken provides roughly 25 grams of high quality protein with significantly less saturated fat than traditional deep fried versions. For those following a Keto or Paleo lifestyle, this recipe is a gold mine of healthy fats and amino acids. If you are looking for a Vegan swap, the same spice and air frying techniques work beautifully on a whole head of cauliflower or a large "roast" made of seitan.
The Fix-It: Common Pitfalls
- Rubbery Skin: This happens if the air fryer is overcrowded or the bird was not dried properly. Fix: Use a smaller bird or increase the final temperature blast.
- Raw Near the Bone: This is usually due to cooking a frozen or partially frozen bird. Fix: Always ensure the chicken is fully thawed and tempered before starting.
- Burnt Spices: High sugar rubs (like those with brown sugar) will burn in an air fryer. Fix: Save sugary glazes for the last 3 minutes of cooking.
Meal Prep and Reheating
To maintain "day one" quality, reheat leftovers in the air fryer at 350 degrees for 4 minutes. This reactivates the fats in the skin, making it crispy again, whereas a microwave would turn the skin into wet leather.
The Wrap-Up:
Mastering air fryer whole chicken recipes is a total game changer for your kitchen repertoire. It combines the scientific rigor of convection cooking with the soulful satisfaction of a Sunday roast. You now have the tools, the techniques, and the chemical understanding to produce a bird that is better than anything you can buy at a grocery store. So, grab your tongs, preheat that basket, and get ready to impress yourself. You have got this!
The Kitchen Table:
How do I keep the chicken breast from drying out?
Start the chicken breast side down for the first half of the cook. This allows the natural fats and juices to flow into the breast meat, keeping it shielded from direct heat and ensuring maximum moisture retention.
Can I cook a frozen whole chicken in the air fryer?
It is not recommended. Cooking from frozen results in uneven heat distribution, leaving the outside overcooked while the center remains dangerously underdone. Always thaw your chicken completely in the refrigerator before air frying for the best safety and texture.
What is the best way to get super crispy skin?
The secret is removing all surface moisture. Pat the bird dry with paper towels and add a teaspoon of cornstarch to your dry rub. The cornstarch absorbs residual moisture and helps the skin achieve a glass like crunch.
Do I need to use a lot of oil?
No, that is the beauty of the air fryer! You only need about one to two tablespoons of a high smoke point oil to coat the skin. This is enough to facilitate the Maillard reaction without making the dish greasy.
What size air fryer do I need for a whole chicken?
A 5.8 quart or larger air fryer is ideal for a standard four pound chicken. You need enough space around the bird for the air to circulate freely; if it touches the sides, those spots will be soggy.