

Picture the sound of a heavy-bottomed stainless steel skillet meeting a high-heat flame; that sharp, rhythmic sizzle is the universal language of a kitchen coming to life. We have all been there, staring into the refrigerator at 6:00 PM, hoping for a culinary miracle that does not involve a thirty-minute delivery wait. The secret to mastering easy make chicken recipes lies not in complex ingredients, but in understanding the molecular magic that happens between the pan and the poultry. We are going to transform that humble bird from a bland protein into a piquant, golden masterpiece that tastes like a weekend project but fits into a Tuesday schedule.
The difference between a dry, stringy breast and a succulent, juice-filled cutlet is purely mechanical. By leveraging a few professional techniques, you can manipulate the proteins and fats to achieve a restaurant-quality finish every single time. We are talking about deep, mahogany browning and sauces that cling to the meat with a glossy, viscous perfection. Grab your favorite apron and let's get into the chemistry of the perfect home-cooked meal.
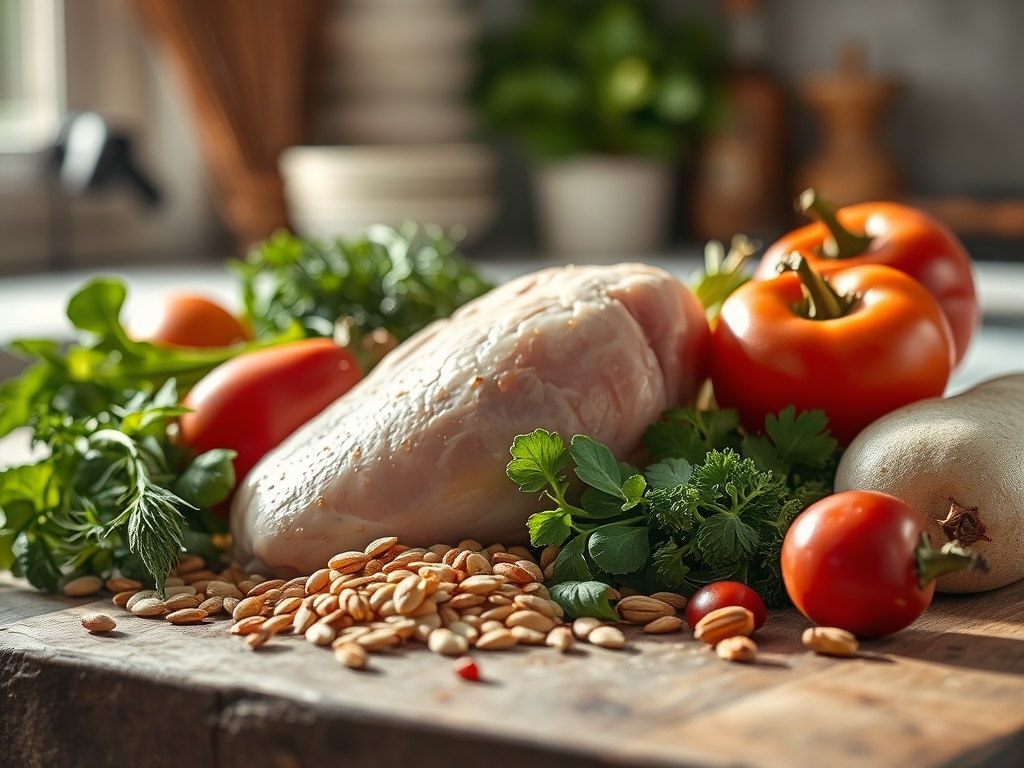
The Gathers:
To execute these easy make chicken recipes with precision, your mise-en-place must be intentional. Start with high-quality poultry; look for air-chilled chicken to avoid the excess water weight that prevents a proper sear. You will need a coarse sea salt to physically break down surface proteins and a high-smoke-point oil like avocado or grapeseed oil.
For the aromatics, reach for fresh garlic cloves that you will crush with a bench scraper to release their essential oils. Have your acidic components ready; a bright lemon or a splash of dry white wine to deglaze the pan. If you find yourself missing an ingredient, use smart substitutions. Swap shallots for yellow onions if you want a more delicate, sweet profile. If you are out of fresh herbs, use one-third the amount of dried herbs, as their oils are more concentrated. Use a microplane to zest citrus directly over the dish at the end to provide a volatile aromatic lift that heat would otherwise destroy.
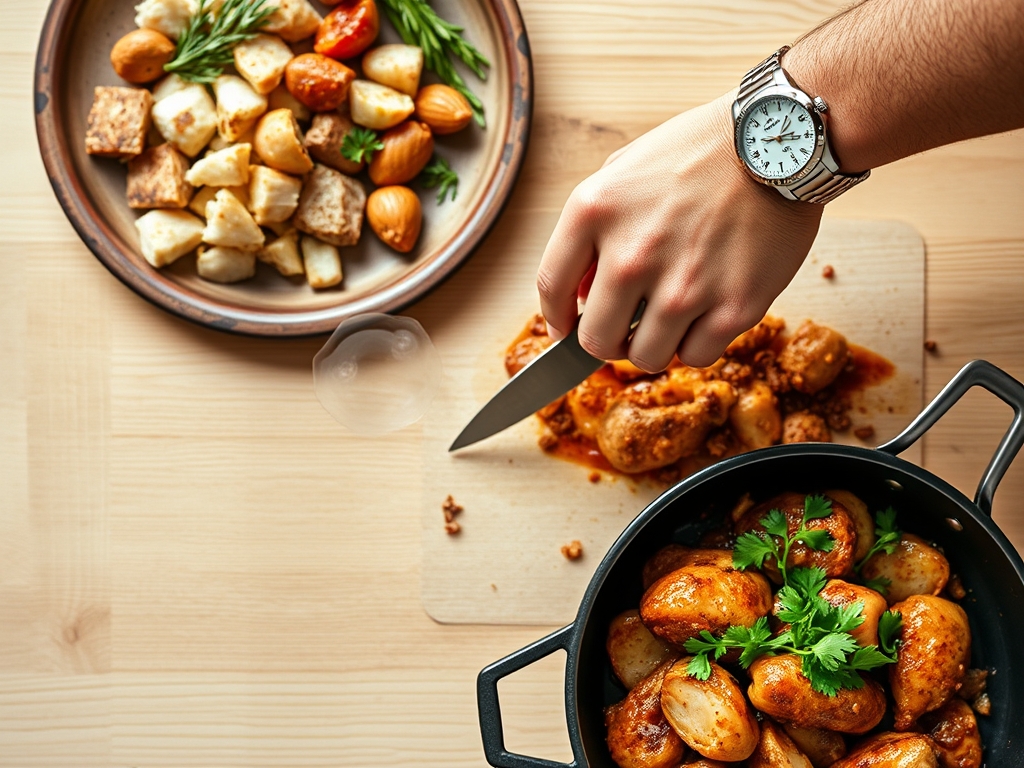
The Clock
Efficiency in the kitchen is all about the Chef's Flow. This is the art of overlapping tasks so that no second is wasted. Your total active prep time should hover around fifteen minutes, with a cook time of twenty minutes depending on the thickness of the cut.
While your skillet preheats, you are seasoning. While the first side of the chicken is rendering its fat, you are chopping your garnish. The goal is to reach a state where the kitchen is cleaned by the time the meat is resting. Remember, the clock does not stop when the heat goes off. You must factor in a five-minute rest period. This allows the internal pressure to stabilize and the juices to redistribute from the center back to the edges of the meat.
The Masterclass
1. Temper and Pat Dry
Remove your chicken from the refrigerator twenty minutes before cooking. Use a paper towel to aggressively pat the surface dry. Any moisture on the skin will turn into steam, preventing the crisp texture we crave.
Pro Tip: This facilitates the Maillard Reaction. This chemical reaction between amino acids and reducing sugars requires a dry environment and temperatures above 285 degrees Fahrenheit to create that savory, brown crust.
2. The Hard Sear
Place your chicken in a preheated heavy-bottomed skillet with shimmering oil. Use tongs to press the meat down firmly, ensuring maximum surface contact. Do not move the chicken for at least four minutes.
Pro Tip: Moving the meat too early interrupts Conduction. By leaving it still, you allow the heat to penetrate evenly while building a crust that will eventually "release" itself from the pan naturally once the proteins have coagulated.
3. Deglaze and Emulsify
Once the chicken is flipped, add a liquid like chicken stock or wine to the pan. Use a wooden spoon to scrape up the brown bits, known as the fond, stuck to the bottom.
Pro Tip: This process captures Concentrated Flavor. The fond contains deep umami compounds. When you whisk in a cold pat of butter at the end, you create a stable emulsion that results in a glossy, professional sauce.
4. Thermal Carryover
Remove the chicken when a digital thermometer reads 160 degrees Fahrenheit, even though the target safety temperature is 165 degrees.
Pro Tip: This accounts for Carryover Cooking. The residual heat on the surface of the meat continues to move toward the center even after it is removed from the pan, preventing the meat from overcooking and becoming fibrous.
The Deep Dive
From a macro perspective, chicken is a lean protein powerhouse. A standard four-ounce serving provides approximately 31 grams of protein with minimal saturated fat. For those following specific lifestyles, these easy make chicken recipes are incredibly adaptable.
Dietary Swaps:
- Keto: Increase the fat content by finishing the dish with a heavy cream reduction or a dollop of compound butter.
- Vegan: Swap the chicken for extra-firm tofu or oyster mushrooms. Use the same searing and deglazing techniques to achieve a similar savory profile.
- Gluten-Free: Ensure your chicken stock is certified GF and use arrowroot powder instead of flour if you need to thicken your sauce.
The Fix-It:
- The Meat is Stuck: If the chicken won't budge, it is not ready to flip. Wait sixty seconds for the crust to fully form and it will release on its own.
- The Sauce is Broken: If your sauce looks oily and separated, whisk in a teaspoon of warm water or a splash of cream to re-emulsify the fats.
- The Chicken is Dry: This usually means the heat was too low for too long. Next time, use a higher heat for a shorter duration to lock in moisture.
Meal Prep Science:
To maintain "day-one" quality when reheating, avoid the microwave if possible. Reheat chicken in a covered skillet with a tablespoon of water. This creates a steam chamber that rehydrates the protein fibers without toughening them.
The Wrap-Up
Mastering easy make chicken recipes is your ticket to culinary independence. By focusing on the science of the sear and the logic of the rest, you turn a basic ingredient into a sophisticated meal. Remember to trust your tools; that digital thermometer and heavy skillet are your best friends. Now that you have the technical blueprint, go forth and turn your kitchen into the best bistro in town. You have the skills, the science, and the flavor; now all you need is a fork.
The Kitchen Table
How do I prevent chicken from becoming rubbery?
Avoid overcooking by using a digital thermometer. Pull the chicken at 160 degrees Fahrenheit and let it rest. Rubbery texture is often the result of protein fibers tightening too much from excessive heat exposure.
Can I use frozen chicken for these recipes?
Yes, but you must thaw it completely in the refrigerator first. Cooking from frozen prevents the Maillard reaction and leads to uneven internal temperatures, resulting in a tough exterior and undercooked interior.
What is the best oil for searing chicken?
Use oils with high smoke points like avocado, grapeseed, or canola oil. These oils can withstand the high temperatures required for browning without breaking down or creating bitter, off-flavors in your dish.
How long can I store cooked chicken?
Cooked chicken stays fresh in an airtight container for three to four days. For the best texture, ensure it cools completely before sealing to prevent excess moisture from making the crust soggy during refrigeration.