
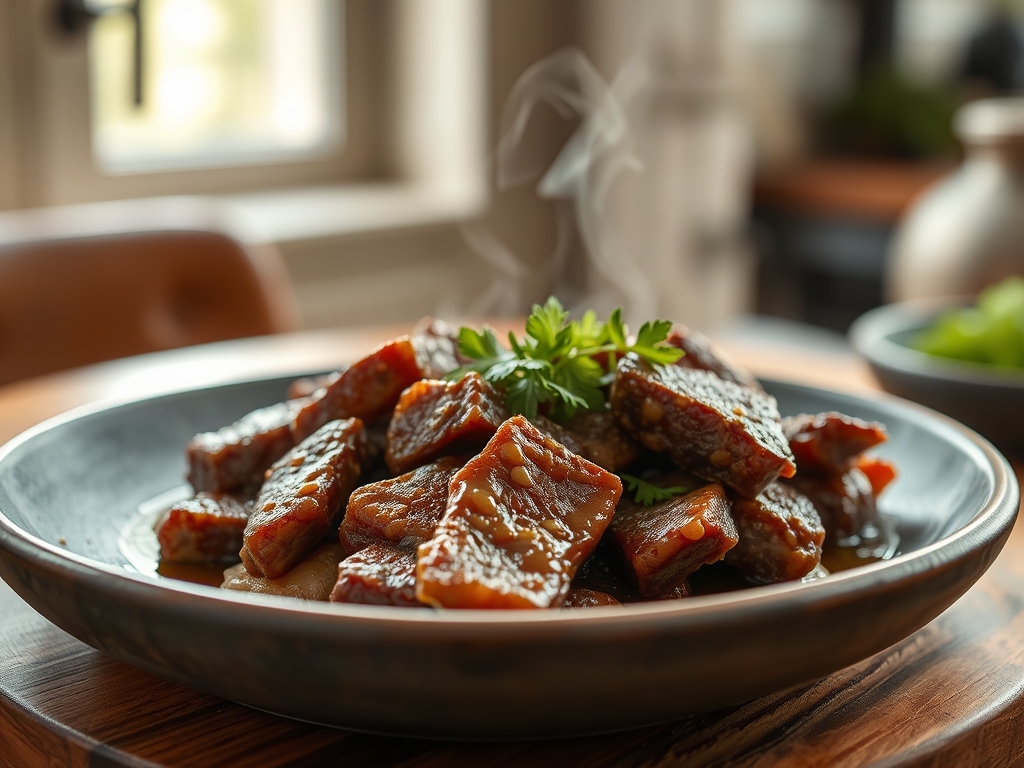
Picture a kitchen filled with the heavy, golden scent of slow-simmered marrow and bay leaves. There is nothing more disappointing than anticipating a succulent, melt-in-your-mouth meal only to be met with a grey, rubbery disaster. When you master boiling beef recipes, you are not just making dinner; you are performing a delicate dance of thermal physics and protein denaturation. We have all been there, staring at a pot of tough fibers that feel more like leather than luxury. But here is the secret: tenderness is not an accident. It is the result of controlling moisture loss and breaking down stubborn collagen into silky gelatin. Whether you are prepping a traditional pot au feu or a spicy brisket, the goal is a fork-tender result that yields to the slightest pressure. Today, we are stripping away the guesswork and diving deep into the molecular magic that transforms a humble cut of meat into a masterpiece of texture and flavor. Let us get your heavy-bottomed pot ready and turn that tough muscle into pure culinary gold.
The Gathers:
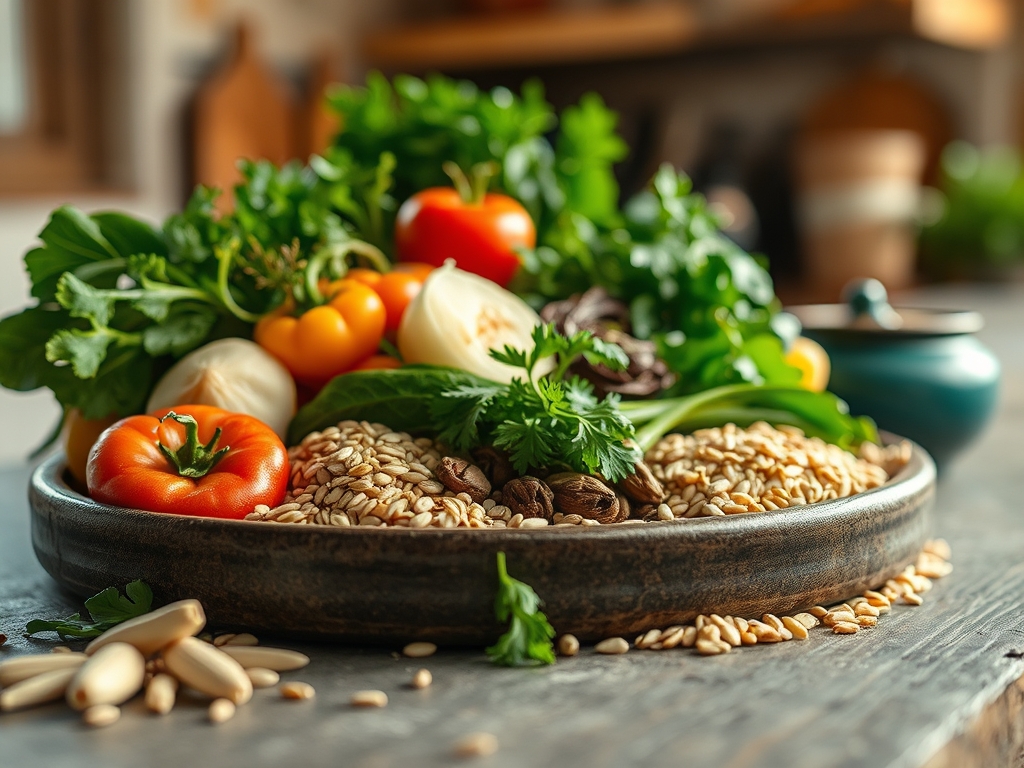
Setting your station is about more than just convenience; it is about managing the chemical environment of your cooking liquid. To start, you need a high-quality cut of beef with significant connective tissue, such as chuck roast, brisket, or shank. These cuts are rich in collagen, which is the key to that viscous, lip-smacking mouthfeel. You will also need a precise digital scale to ensure your salt-to-water ratio is perfect, as salinity affects how protein fibers contract during heating.
Gather your aromatics: whole black peppercorns, fresh sprigs of thyme, and a head of garlic sliced horizontally to expose the cloves. You will need a microplane for zesting citrus or grating fresh ginger if you are leaning toward an Asian-inspired profile. For the liquid, a combination of filtered water and a splash of dry white wine or apple cider vinegar provides the acidity needed to weaken the structural proteins.
Smart Substitutions:
If you are out of wine, use a tablespoon of verjuice or a splash of coconut aminos for a piquant depth. For those avoiding nightshades, swap traditional peppercorns for toasted coriander seeds to maintain a complex, aromatic bite without the heat.
The Clock
Preparation takes roughly 20 minutes of active work, including trimming silver skin with a sharp boning knife and prepping your mirepoix. The cooking phase is where patience pays off. Plan for 3 to 5 hours depending on the weight and density of the cut. This is the Chef's Flow: use the first hour to skim impurities, the middle hours for the slow breakdown of connective tissue, and the final hour for the infusion of delicate herbs. Never rush the process; the transition from tough to tender happens in a specific temperature window that cannot be bypassed by high heat.
The Masterclass
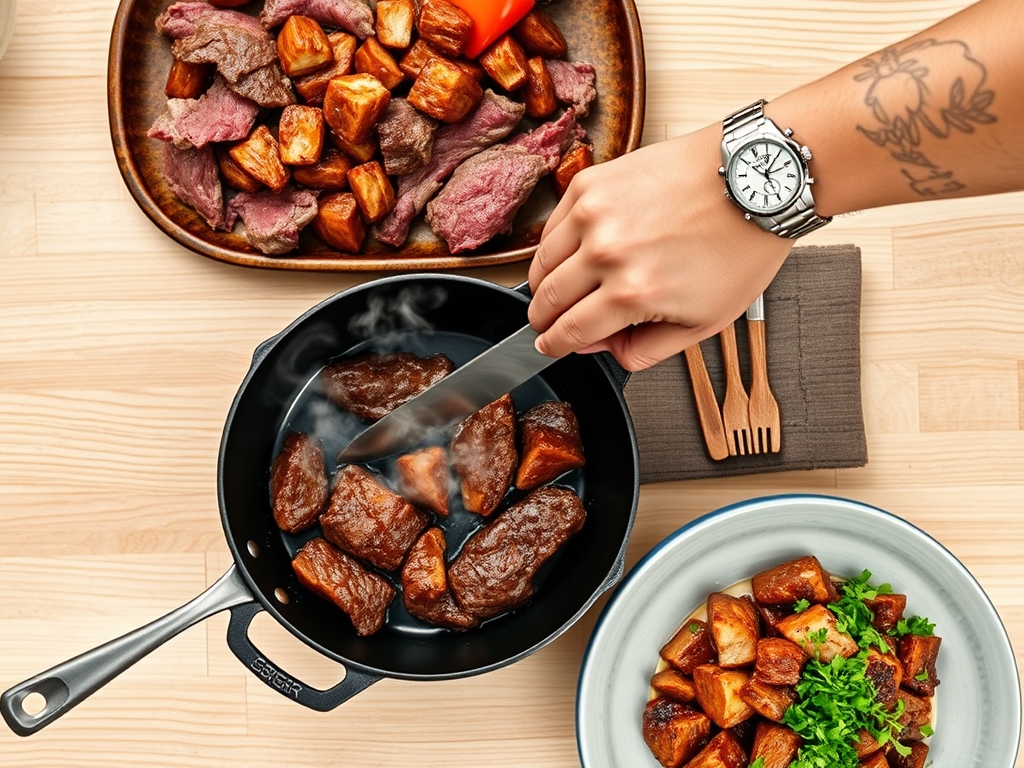
1. The Strategic Sear
Before any water touches the pot, use a heavy-bottomed skillet to sear the exterior of the meat. This is not about "locking in juices," which is a myth, but about initiating the Maillard reaction. This chemical reaction between amino acids and reducing sugars creates hundreds of different flavor compounds.
Pro Tip: This step creates a foundation of flavor. The brown bits left in the pan, known as fond, should be deglazed with a splash of liquid and added to the boiling pot to ensure no complexity is lost.
2. Cold Water Start
Always start your beef in cold water rather than dropping it into a boiling cauldron. As the water temperature rises slowly, soluble proteins dissolve and rise to the surface as foam. If you start with boiling water, these proteins coagulate instantly inside the meat, leading to a cloudy broth and a tougher exterior.
Pro Tip: Starting cold allows for a cleaner clarification of the stock. Use a fine-mesh skimmer to remove the grey foam (albumin) for a pristine, professional finish.
3. Maintain the Quiver
The term "boiling beef recipes" is actually a misnomer. You should never truly boil the meat. Instead, aim for a "quiver," where only a few bubbles break the surface every few seconds. This correlates to a temperature of roughly 180 to 190 degrees Fahrenheit.
Pro Tip: High heat causes muscle fibers to contract violently, squeezing out moisture like a wrung-out sponge. Keeping the heat low ensures the fibers stay relaxed while collagen converts to gelatin.
4. Acidic Intervention
Introduce a mild acid like lemon juice, vinegar, or even a few chopped tomatoes halfway through the cook. Acid helps to denature the tightly wound protein coils, accelerating the softening process without turning the meat into mush.
Pro Tip: This is a form of chemical tenderization. The acid breaks down the intermolecular bonds in the connective tissue, making the final product feel much more tender on the palate.
5. The Aromatics Layering
Do not add your delicate herbs at the beginning. Hard aromatics like carrots and onions go in early, but fresh parsley, cilantro, or basil should only join the pot in the final thirty minutes.
Pro Tip: Volatile aromatic oils are heat-sensitive. Adding them too early causes the flavors to evaporate, leaving you with a dull, muted dish instead of a vibrant, layered one.
6. Salt Timing
Season your liquid early, but do not overdo it. As the liquid reduces, the salt concentration increases. Use your digital scale to aim for a 1% salinity level at the start.
Pro Tip: Salt acts as a hydroscopic agent, drawing moisture into the protein cells through osmosis, provided the concentration is not so high that it draws water out.
7. The Gentle Rest
Once the meat is tender, do not pull it out of the liquid immediately. Let it cool slightly inside the pot. This prevents the surface of the meat from drying out instantly when exposed to the air.
Pro Tip: This allows for thermal carryover to finish the cooking process evenly. The meat will actually reabsorb some of the flavorful cooking liquid as the internal pressure drops.
8. Slicing Against the Grain
Use a bench scraper to move your meat to a cutting board. Identify the direction of the muscle fibers and slice perpendicular to them. This shortens the fibers, making each bite effortless to chew.
Pro Tip: Slicing with the grain leaves long, stringy fibers that are difficult to break down mechanically in the mouth, regardless of how well the meat was cooked.
9. The Fat Render Check
If your broth looks too oily, use a saucier to reduce a portion of the liquid separately after skimming the excess fat. A well-rendered fat layer adds flavor, but too much will coat the tongue and dull the other tastes.
Pro Tip: Emulsification is key. If the fat is properly integrated, it creates a silky mouthfeel; if not, it remains a greasy film. Use a whisk to vigorously aerate the sauce before serving.
The Deep Dive
Macro Nutrition:
Boiled beef is a nutritional powerhouse, offering high concentrations of bioavailable iron, zinc, and Vitamin B12. Because the fat is partially rendered into the cooking liquid, you can control the final caloric density by skimming the pot.
Dietary Swaps:
For a Keto-friendly version, ensure no sugar-based marinades are used and serve with cauliflower puree. For a Vegan "beef" alternative, use large chunks of lion's mane mushroom; while the protein structure is different, the umami profile and "shred-ability" are remarkably similar when simmered in a rich vegetable dashi.
The Fix-It:
- Meat is still tough: You likely pulled it too early. Put it back in; collagen breakdown is a function of time and temperature.
- Broth is bitter: You may have over-boiled the bones or left the garlic in too long. Add a pinch of sugar or a splash of cream to balance the bitterness.
- Meat is dry despite being in liquid: The heat was too high. Next time, use a digital thermometer to ensure the liquid never exceeds 195 degrees Fahrenheit.
Meal Prep:
To reheat, always submerge the beef in its original cooking liquid. Reheating in a microwave or dry oven will cause the proteins to tighten and become rubbery. Use a low simmer on the stovetop to gently rehydrate the fibers.
The Wrap-Up
Mastering the art of boiling beef is a true badge of honor for any home cook. It requires a blend of patience, scientific understanding, and sensory intuition. By controlling the temperature, timing your aromatics, and respecting the resting phase, you transform a budget-friendly cut into a luxury experience. Now, grab your tongs, fire up the stove, and prepare to impress yourself with the most tender beef you have ever tasted.
The Kitchen Table
How do I know when the beef is officially done?
Use the "fork test." If you can insert a fork and twist it with zero resistance, the collagen has successfully converted to gelatin. If the meat clings to the fork, it needs more time to break down.
Can I overcook beef in a simmer?
Yes. Eventually, the muscle fibers will lose all structural integrity and turn into a "mushy" or "mealy" texture. While it will be soft, it will lose the pleasant chew associated with high-quality boiled beef recipes.
Why is my boiled beef grey and unappealing?
This usually happens if you skip the searing step. The Maillard reaction provides the rich brown color. Without it, the meat relies solely on wet cooking, which does not produce the same dark, appetizing pigments.
Does the size of the meat chunks matter?
Absolutely. Uniformity ensures even cooking. If pieces are different sizes, the small ones will overcook and become dry before the large ones reach the desired level of tenderness. Aim for consistent 2-inch cubes.