

Imagine a heavy-bottomed skillet sizzling on the stovetop as cold cream meets searing heat; the sound is a rhythmic percussion that promises comfort. When you master chicken recipes using sour cream, you are not just cooking dinner. You are harnessing the power of lactic acid to transform lean protein into a velvety masterpiece that coats the back of a spoon with pure, piquant luxury.
The magic lies in the contrast. You have the golden, Maillard-driven crust of the poultry clashing against the cool, viscous nature of the dairy. It is a chemistry experiment you can actually eat. Whether you are craving a sharp Hungarian paprikash or a mellow, garlic-heavy pan sauce, these seven variations provide a masterclass in texture. We are moving beyond the basic "cream of anything" cans and stepping into the world of genuine emulsification. Grab your favorite apron and a glass of something crisp; we are about to turn your kitchen into a high-end bistro where the secret ingredient is always a generous dollop of cultured cream.

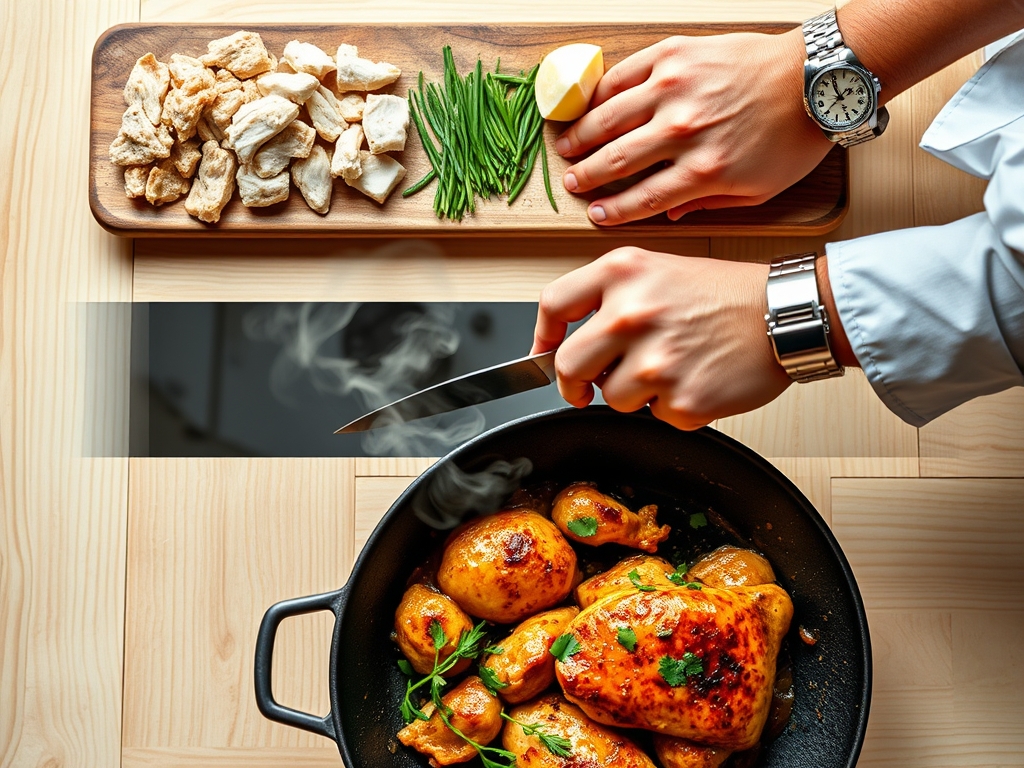
The Gathers:
Before we ignite the burners, we must organize our mise-en-place with surgical precision. Use a digital scale to measure your poultry; consistency in mass ensures consistency in thermal absorption. You will need high-moisture chicken thighs or breasts, coarse kosher salt, and cracked black peppercorns. The star, of course, is full-fat sour cream. Low-fat versions lack the lipid structure to withstand high heat and will likely break into a grainy mess.
For the aromatic base, gather shallots, garlic, and fresh herbs like tarragon or dill. Use a microplane to zest a lemon; the citrus oils provide a necessary acidic counterpoint to the heavy fats. Smart Substitutions: If you find yourself without sour cream, Greek yogurt is a viable alternative, though it is more prone to curdling. To prevent this, temper the yogurt with a splash of heavy cream to increase the fat content. For a dairy-free swap, cashew cream blended with a teaspoon of apple cider vinegar mimics the tang and thickness required for these chicken recipes using sour cream.
The Clock
Efficiency in the kitchen is about "Chef's Flow," which is the art of overlapping tasks to minimize downtime. Expect a total active time of 20 minutes with a passive simmer time of 15 to 25 minutes depending on the cut of meat. While the chicken renders its fat in the skillet, use that window to mince your aromatics. Never wait for the meat to finish before starting your prep; the residual heat in the pan is a ticking clock. By the time the chicken reaches an internal temperature of 160 degrees Fahrenheit, your sauce base should be ready to hit the pan. This synchronization ensures the meat does not overcook while you are still fumbling with a knife.
The Masterclass
1. Sear and Render
Pat the chicken bone-dry with paper towels to remove surface moisture. Place the pieces skin-side down in a preheated heavy-bottomed skillet. Do not crowd the pan; overcrowding drops the surface temperature and leads to steaming rather than browning.
Pro Tip: This stage relies on the Maillard Reaction. By keeping the surface dry, you allow amino acids and reducing sugars to rearrange, creating hundreds of flavor compounds and that signature golden crust.
2. Deglaze the Fond
Remove the chicken and set it aside. Use a wooden spoon or bench scraper to loosen the brown bits stuck to the bottom of the pan after adding a splash of dry white wine or chicken stock. These bits, known as "fond," are concentrated flavor gold.
Pro Tip: Deglazing is a thermodynamic process where the liquid lifts caramelized proteins. This integrates deep, savory notes directly into your sauce base before the dairy is introduced.
3. Infuse the Aromatics
Add your minced shallots and garlic to the pan. Sauté until translucent but not browned. If the pan is too dry, add a tablespoon of unsalted butter to help infuse the fat with the essential oils from the aromatics.
Pro Tip: Garlic contains allicin, which becomes bitter if scorched. By sautéing at a lower temperature in a fat medium, you mellow the sharp bite into a sweet, nutty undertone.
4. Temper the Dairy
This is the most critical step. Lower the heat significantly. Take a small amount of the hot pan liquid and whisk it into your bowl of sour cream before adding the entire mixture back to the skillet.
Pro Tip: This prevents thermal shock. If cold sour cream hits a boiling liquid, the proteins denature and clump instantly. Tempering gradually raises the dairy's temperature to maintain a smooth emulsion.
5. Emulsify and Thicken
Whisk the sauce constantly using a saucier or whisk until it reaches a uniform, glossy consistency. The sauce should be thick enough to coat the chicken without feeling heavy or "gloppy."
Pro Tip: Sour cream acts as a natural emulsifier. The fats wrap around the water molecules in the stock, creating a stable, creamy suspension that carries flavor across the palate more effectively.
6. The Final Simmer
Return the chicken to the pan, nestling it into the sauce. Let it simmer for three to five minutes to allow the flavors to marry and the chicken to reach a final internal temperature of 165 degrees Fahrenheit.
Pro Tip: Utilize thermal carryover. If you pull the chicken at 160 degrees, the internal energy will continue to cook the meat to the perfect 165 degrees while it rests in the warm sauce, ensuring juiciness.
7. Aerate and Garnish
Just before serving, stir in fresh herbs and a squeeze of lemon juice. Use a pair of tongs to plate the chicken, then spoon the sauce over the top.
Pro Tip: Fresh herbs are volatile. Adding them at the very end prevents the heat from destroying their delicate aromatic compounds, providing a bright "high note" to the heavy sauce.
The Deep Dive
From a nutritional standpoint, these dishes are high in protein and healthy fats, making them excellent for those following a Keto lifestyle. To make this Gluten-Free, ensure your chicken stock is certified and avoid using flour as a thickener; the sour cream itself provides enough body. For a Vegan twist, use a cultured coconut cream.
The Fix-It: If your sauce breaks (looks oily or curdled), whisk in a tablespoon of very hot water or a splash of heavy cream to re-emulsify the fats. If it is too thin, simmer it uncovered for three minutes to reduce the water content. If it is too salty, a squeeze of lemon or a pinch of sugar can balance the sodium levels.
Meal Prep: When reheating, avoid the microwave. The intense, uneven heat will break the sour cream emulsion. Instead, place the chicken and sauce in a small pot over low heat, adding a teaspoon of water to loosen the proteins as they warm. This preserves the "day-one" silky texture.
The Wrap-Up
Mastering chicken recipes using sour cream is a gateway to effortless, sophisticated weeknight dining. By understanding the science of tempering and the importance of the Maillard reaction, you have moved from following a recipe to understanding the "why" behind the flavor. These seven variations are just the beginning; once you have the technique down, the flavor combinations are infinite. Now, go forth, grab your saucier, and turn that humble tub of sour cream into something truly legendary.
The Kitchen Table
Can I use fat-free sour cream for these recipes?
It is not recommended. Fat-free versions contain stabilizers and thickeners that often grain up or liquefy when exposed to high heat. For a stable, velvety sauce, full-fat or "original" sour cream provides the necessary lipid structure.
How do I stop the sour cream from curdling?
Always temper your sour cream by mixing it with a little warm pan liquid before adding it to the skillet. Additionally, keep the heat low; boiling a sour cream sauce is a guaranteed way to break the emulsion.
What is the best way to store leftovers?
Store in an airtight glass container for up to three days. Glass is non-reactive and won't affect the piquant flavor of the dairy. Reheat slowly on the stovetop to maintain the sauce's integrity and prevent separation.
Can I freeze chicken dishes made with sour cream?
Freezing is tricky because the emulsion often breaks during the thawing process. If you must freeze, expect to whisk in a little fresh cream or water during the reheating phase to bring the smooth texture back to life.