
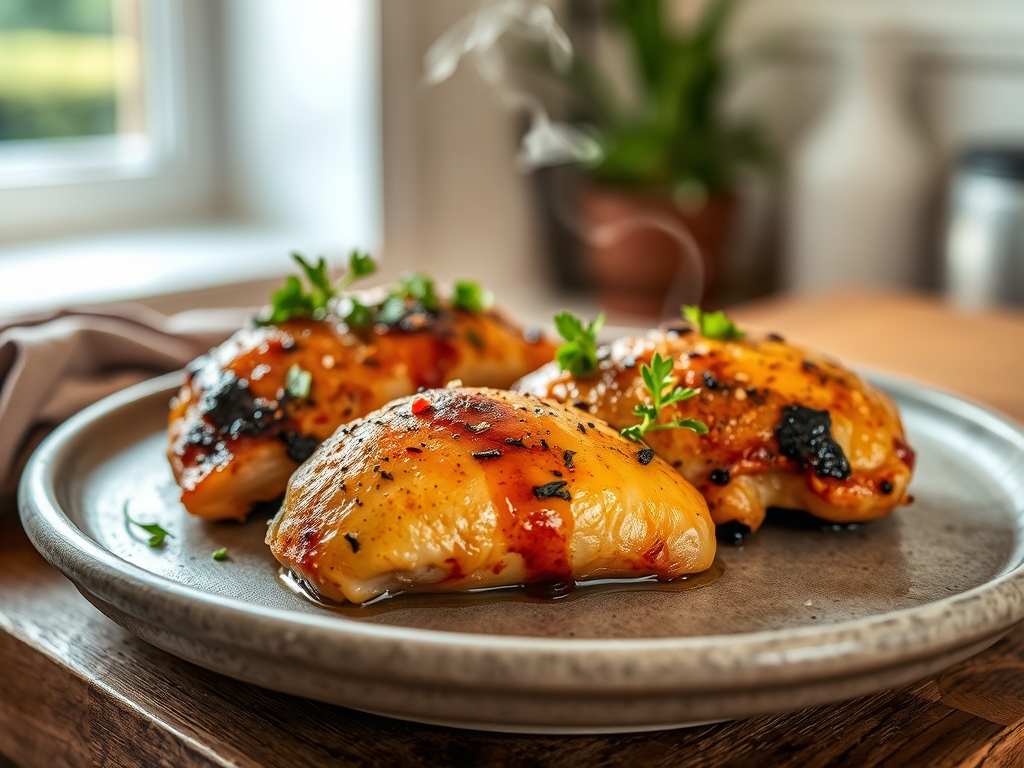
The first bite of properly executed sous vide chicken delivers a shock: the flesh yields with almost no resistance, releasing juice that never floods the plate or vanishes into dryness. That textural precision, impossible to achieve through traditional methods, explains why sous vide chicken recipes have moved from modernist restaurant kitchens into home setups worldwide. The technique eliminates guesswork, replacing it with repeatable, science-backed results that transform every cut from bland protein into something worth talking about.
Sous vide cooking operates on a simple principle: precise temperature control over extended time breaks down connective tissue and denatures proteins without overshooting into rubberiness. Chicken breast reaches perfect doneness at 145°F (63°C), while thighs benefit from 165°F (74°C) to render fat and collagen. The water bath holds these exact temperatures for hours, making it nearly impossible to overcook. You sear after the bath, building Maillard reaction crust without sacrificing moisture.
These ten professional secrets address the most common failures and missed opportunities in sous vide chicken preparation. Each technique builds on fundamental food science, not kitchen folklore. The result: consistently tender, flavorful chicken that holds up against any traditionally cooked version.
The Gathers
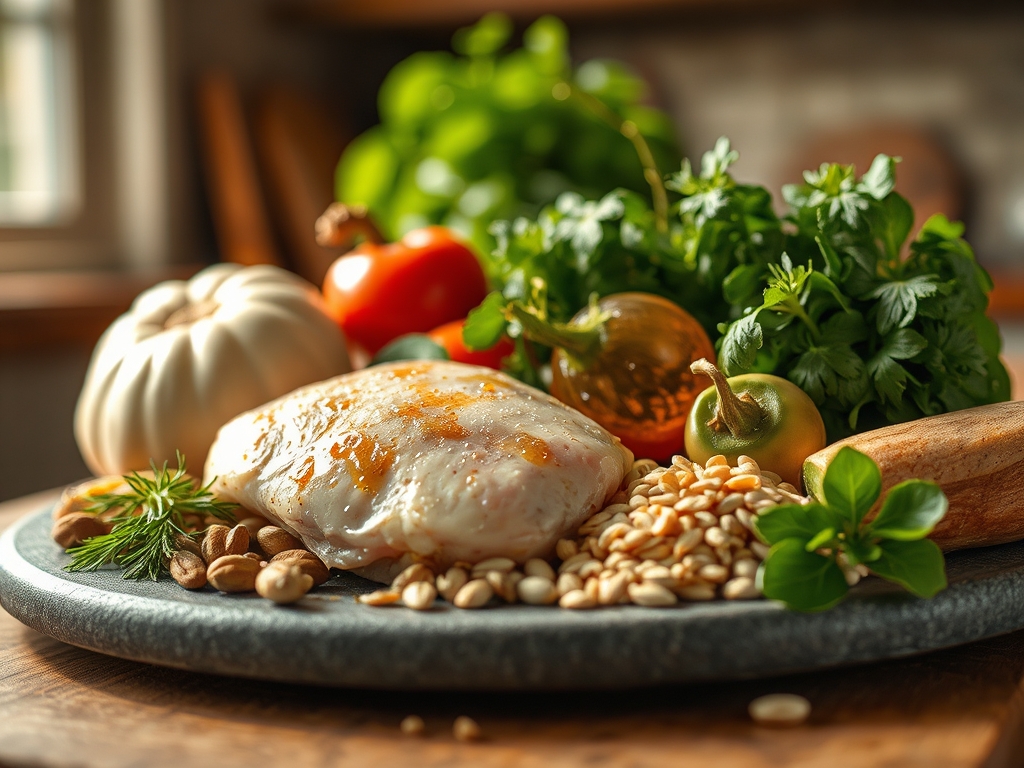
As you see in the ingredient spread below, sous vide chicken demands minimal components but maximum quality. Boneless, skinless chicken breasts (4 pieces, 6-8 oz each) form the base, their pale pink color indicating freshness. Kosher salt (1 tablespoon) and freshly cracked black pepper (1 teaspoon) provide foundational seasoning that penetrates during the bath.
Fresh thyme sprigs (4-6) and smashed garlic cloves (4) go directly into the vacuum bag, infusing aromatics during the cook. Unsalted butter (4 tablespoons) adds fat for flavor transfer and browning during the post-sear. Neutral oil (2 tablespoons, grapeseed or avocado) handles high-heat searing without smoking.
The chicken itself should feel firm but pliable, with no sliminess or off-odor. Pat each piece completely dry before bagging; surface moisture dilutes seasoning and creates steam pockets that interfere with vacuum sealing.
Smart Substitutions: Chicken thighs replace breasts at 165°F for richer flavor. Rosemary or sage substitutes for thyme. Ghee works if butter is unavailable. Bone-in, skin-on cuts require 30 minutes additional cooking but deliver superior browning potential.
The Clock
Prep time: 15 minutes (trimming, seasoning, bagging)
Cook time: 90 minutes (water bath) plus 4 minutes (searing)
Total active time: 19 minutes
Total elapsed time: 109 minutes
Chef's Flow: Set your immersion circulator and begin heating the water bath first; it takes 15-20 minutes to reach temperature. While the bath heats, prep and bag your chicken. This overlap eliminates dead time. After bagging, refrigerate seasoned chicken for up to 24 hours if needed; the salt will lightly brine the meat, improving texture. When ready to cook, drop cold bags directly into the preheated bath without adjusting time.
The Masterclass
Step 1: Prepare the Chicken
Trim any visible fat or silverskin from each breast. Season all sides aggressively with salt and pepper. The seasoning layer looks heavy but will dilute slightly in the bag.
Chef's Secret: Salt proteins create a moisture-retaining gel layer through osmosis. Season at least 15 minutes before bagging for better penetration.
Step 2: Bag with Aromatics
Place each breast in a vacuum bag with one thyme sprig, one garlic clove, and one tablespoon of butter. Arrange chicken in a single layer, not stacked.
Why it Works: Fat-soluble flavor compounds in herbs transfer more efficiently in the butter-rich environment. Vacuum pressure forces aromatics against the meat surface, maximizing contact.
Step 3: Seal and Submerge
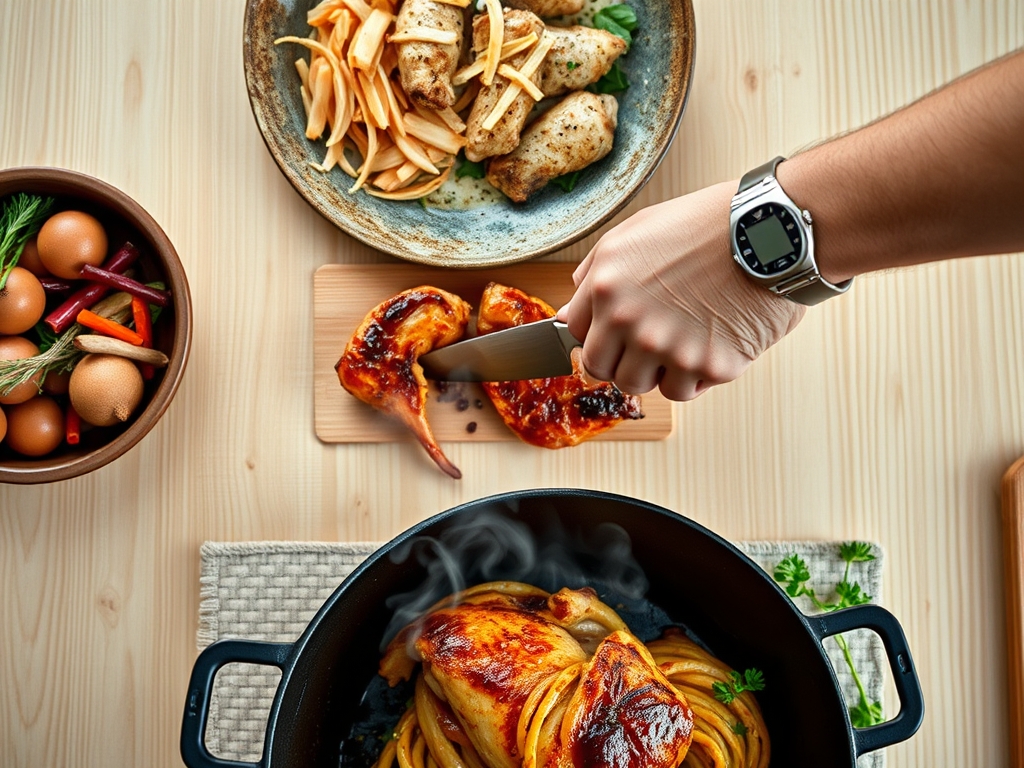
Vacuum seal on medium pressure to avoid crushing the meat. Clip bags to the side of the container, ensuring full water coverage. Note the texture shown in the step-by-step photos; bags should lie flat.
Chef's Secret: Underfilled water baths create temperature gradients. Maintain at least 1 inch of water above the bags, and keep circulation unobstructed.
Step 4: Cook at Precise Temperature
Set circulator to 145°F (63°C). Submerge bags and cook for 1.5 hours. The water will look calm; gentle circulation is sufficient.
Why it Works: At 145°F, myosin proteins coagulate but actin remains mostly intact. This narrow window creates tender texture without mushiness. Longer cooking (up to 4 hours) won't overcook but will slightly soften texture.
Step 5: Ice Bath Shock (Optional but Recommended)
Remove bags and plunge into ice water for 10 minutes if not serving immediately. This halts carryover cooking and firms the exterior for better searing.
Chef's Secret: Rapid chilling creates a temperature differential that improves crust formation during the sear. The cold surface takes longer to heat, allowing deeper browning before the interior warms.
Step 6: Pat Dry Aggressively
Remove chicken from bags, discard aromatics, and blot with paper towels until completely dry. Any moisture will steam rather than sear.
Why it Works: The Maillard reaction requires surface temperatures above 300°F (149°C). Water boils at 212°F (100°C), creating a ceiling that prevents browning. Dryness is non-negotiable.
Step 7: Sear Hard and Fast
Heat a cast-iron skillet over high heat until smoking lightly. Add neutral oil, then sear chicken 90 seconds per side without moving. The surface should develop deep golden-brown color.
Chef's Secret: Movement disrupts crust formation. Let the pan do the work. If chicken sticks initially, wait 10 seconds; proper crust releases naturally.
Nutritional Info
Per serving (one 6 oz breast): 280 calories, 42g protein, 0g carbohydrates, 12g fat (5g saturated), 125mg cholesterol, 640mg sodium. Protein density makes this ideal for muscle retention or weight management protocols. Fat content comes primarily from butter; omit for leaner macros (reduce to 190 calories, 3g fat).
The controlled cooking preserves more B vitamins (niacin, B6) compared to high-heat methods that degrade water-soluble nutrients. Sous vide also eliminates the need for added cooking fats beyond the sear, keeping calorie counts predictable.
Dietary Swaps
Keto/Low-Carb: This recipe already fits macro requirements. Increase fat by finishing with compound butter (herb-garlic blend) for 15g fat per serving. Pair with cauliflower mash or zucchini noodles.
Paleo: Use ghee instead of butter, omit any added sugars if making a glaze variation. The base preparation aligns with paleo principles.
Whole30 Compliant: Replace butter with clarified ghee. Ensure all seasonings contain no additives or sugars. Use fresh herbs exclusively.
Gluten-Free: Naturally compliant; ensure any sauces or seasonings avoid wheat-based thickeners.
Vegan adaptation requires full protein substitution: extra-firm tofu pressed for 30 minutes, then cooked at 180°F (82°C) for 45 minutes with similar aromatics. The texture mimics poached chicken but lacks the Maillard complexity meat provides.
Serving & Presentation
Plating Idea 1 (Modern Minimalist): Slice breast on a bias into 1/2-inch medallions. Fan across a white plate, drizzle with pan sauce reduced from bag juices, microgreens on top. The clean lines showcase the even pink interior.
Plating Idea 2 (Rustic Family-Style): Serve whole breasts on a wooden board with roasted vegetables. Pour pan drippings over everything. This approach emphasizes comfort while maintaining elegance through simplicity.
Plating Idea 3 (Restaurant Composed): Center a sliced breast, add a quenelle of cauliflower puree, arrange haricots verts in a tight bundle, finish with reduced chicken jus and microherbs. The height and color contrast create visual impact.
Garnish with flaky sea salt just before serving; its crystal structure provides textural contrast and a final flavor pop that table salt cannot match.
The Pro-Dodge: Pitfalls and Fixes
Pitfall 1: Rubbery Texture Despite Correct Temperature
This indicates overcooking time-wise. While sous vide is forgiving, chicken breast begins breaking down structurally after 4 hours even at proper temperature. Fix: Cook thinner breasts (under 1 inch) for only 1 hour. Thicker cuts can handle 2 hours maximum.
Pitfall 2: Bland Flavor After Cooking
Sous vide doesn't concentrate flavors like roasting; it preserves them. The bag environment is mild. Fix: Season more aggressively than intuition suggests. Use 1% salt by weight (about 2 teaspoons per pound). Add umami boosters like soy sauce or fish sauce to the bag (1 teaspoon per breast).
Pitfall 3: Poor Sear with Gray Band
This means the chicken interior reheated during searing, creating the overcooked ring. Fix: Use the ice bath shock religiously. Sear in a ripping-hot pan for no more than 90 seconds per side. Consider using a torch for even more precise surface browning.
The Meal Prep Corner
Cooked sous vide chicken refrigerates beautifully for 5 days when kept in sealed bags. The anaerobic environment limits oxidation and bacterial growth. To reheat, simply drop the sealed bag into 130°F (54°C) water for 30 minutes. The gentle rewarming preserves texture perfectly.
For freezing, chill cooked chicken in an ice bath, then freeze flat in bags for up to 3 months. Thaw in the refrigerator overnight, then reheat using the same 130°F bath method. Avoid microwaving; the uneven heating creates dry spots and ruins the texture you worked to achieve.
Day-one quality persists through proper storage because the cooking method eliminates moisture loss at the cellular level. Traditional cooked chicken dries out in storage as proteins continue contracting; sous vide proteins stabilize at their target state.
The Wrap-Up
These ten secrets transform sous vide from a gadget novelty into a reliable technique that delivers consistent results regardless of experience level. Temperature precision, strategic seasoning, proper drying, and aggressive searing form the foundation. Everything else builds on these principles.
The method scales beautifully whether cooking two breasts for dinner or twenty for meal prep. Batch cooking becomes efficient when the water bath does the heavy lifting. Your active time remains minimal while output multiplies.
Try one variation this week and note the difference in texture and moisture retention. Share your results, temperature tweaks, or flavor combinations in the comments. The sous vide community thrives on shared experimentation and data.
The Kitchen Table: FAQ
What temperature should I use for chicken thighs?
Cook boneless, skinless thighs at 165°F (74°C) for 2 hours. The higher temperature renders fat and breaks down collagen, creating a tender, shreddable texture. Thighs contain more connective tissue than breasts, requiring the extra heat for optimal results.
Can I cook chicken from frozen?
Yes, but add 50% more time. A frozen 6 oz breast needs 2.25 hours at 145°F. Ensure pieces are individually frozen, not clumped, for even heating. Season before freezing so flavors penetrate during the cook.
Why does my chicken look pink even at safe temperatures?
Sous vide cooking prevents the color change typically associated with doneness. Pink color comes from myoglobin, which only fully denatures above 160°F. At 145°F, meat is pasteurized and safe despite the color. Trust the thermometer, not visual cues.
Do I need a vacuum sealer or will zipper bags work?
Zipper bags work using water displacement: seal the bag 90%, slowly submerge until water pressure forces air out, then seal completely. Ensure no air pockets remain. Dedicated vacuum sealers provide better results for longer cooks but aren't mandatory.
How do I add sauce or glaze without masking the texture?
Apply sauces after searing, not during the water bath. Most sauces break down or turn murky in extended cooking. For glazes, brush on during the final 30 seconds of searing, allowing sugars to caramelize without burning. The crust protects the tender interior while the glaze adds concentrated flavor.