
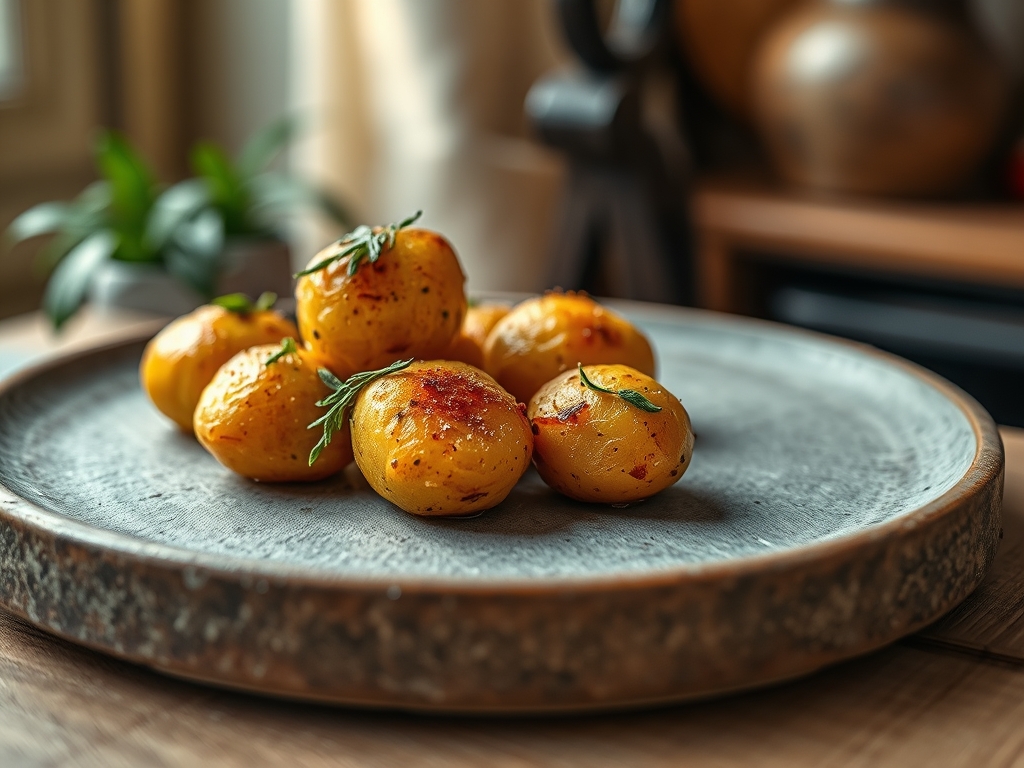
Imagine the scent of nutty butter meeting a searing hot pan as the skin of a tiny tuber shatters under the slightest pressure. That is the magic of small golden potato recipes; they are the reliable, buttery backbone of a sophisticated weeknight dinner. These miniature powerhouses possess a thin, delicate skin and a high sugar content that transforms into a caramel-colored crust while the interior remains as velvety as a French silk mousse. We are moving beyond the basic boil and toward a mastery of texture and chemistry.
The beauty of the small golden potato lies in its waxiness. Unlike starchy Russets that fall apart into a powdery mess, these gems hold their structural integrity during high-heat roasting or aggressive pan-searing. Whether you are hosting a formal dinner party or just trying to elevate a Tuesday night side dish, mastering these eight hacks will change your relationship with the humble spud forever. We are talking about maximum Maillard reaction and zero soggy bottoms.
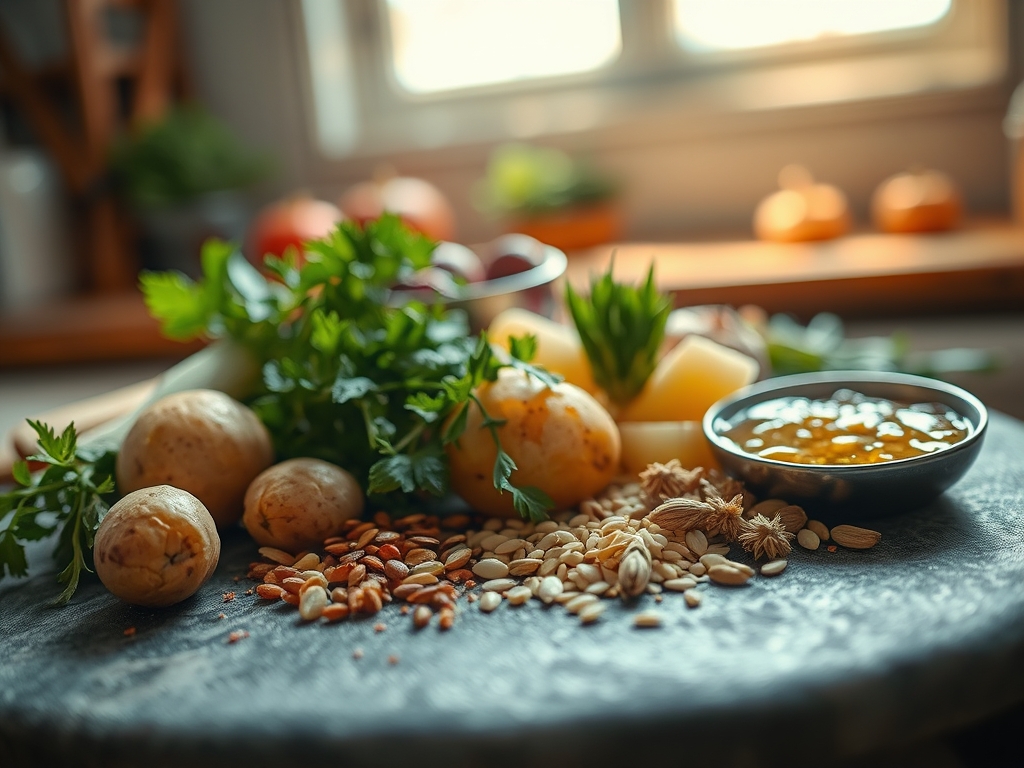
The Gathers:
To achieve culinary excellence, your mise-en-place must be precise. Start with two pounds of Dutch Yellow or Yukon Gold "C-size" potatoes. These should be uniform in diameter to ensure even heat distribution. You will also need high-smoke-point fats like clarified butter or avocado oil; standard butter contains milk solids that will burn before the potato reaches its peak crispness.
For the aromatics, gather fresh rosemary sprigs, unpeeled garlic cloves for roasting, and Maldon sea salt for that specific crystalline crunch. A splash of apple cider vinegar is my secret weapon; the acid prevents the potatoes from becoming overly cloying and brightens the earthiness.
Smart Substitutions: If you are out of fresh herbs, use a high-quality dried herbes de Provence, but bloom it in the oil first to release the fat-soluble flavor compounds. For a dairy-free version, duck fat is the gold standard for rendering a crisp, savory crust that rivals any butter-based method.
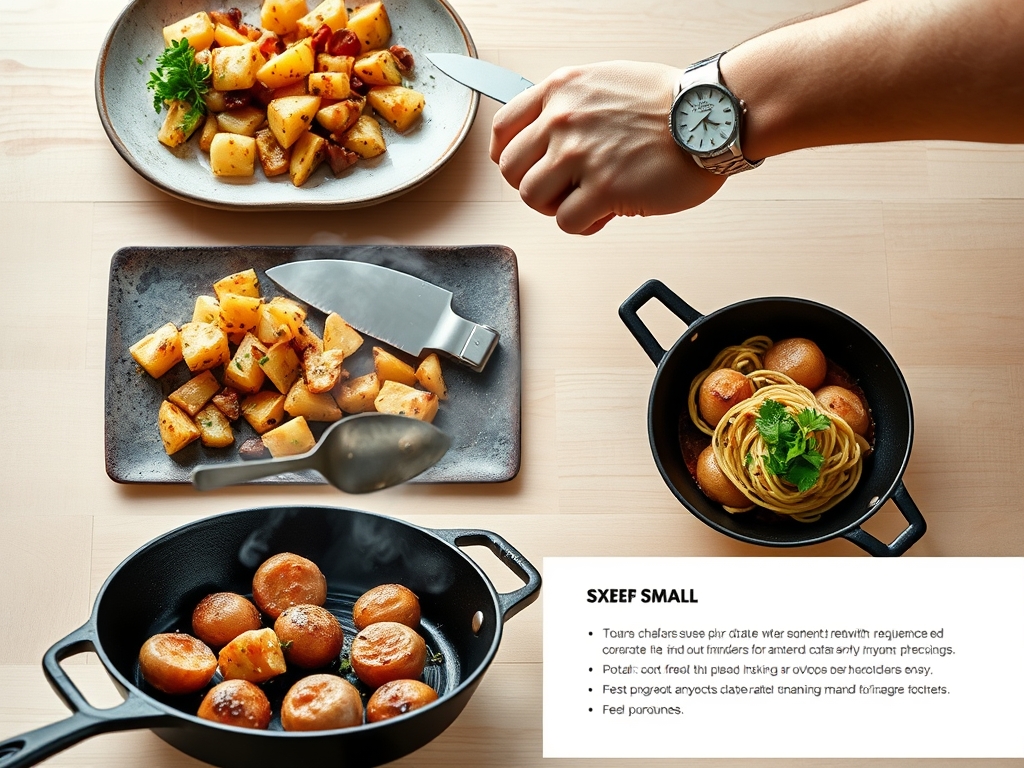
The Clock:
The "Chef's Flow" is all about overlapping tasks to minimize downtime. Total active prep time is exactly 12 minutes if your knife skills are sharp. You will spend 5 minutes washing and drying (moisture is the enemy of the crust) and 7 minutes slicing or parboiling.
The cooking phase takes approximately 35 to 45 minutes depending on your oven's calibration. While the potatoes undergo their thermal transformation, use that 40-minute window to prepare your protein or whisk together a piquant aioli. Remember that potatoes require a "resting phase" just like a steak; five minutes of cooling allows the internal steam to redistribute, ensuring the skin stays crisp instead of steaming from the inside out.
The Masterclass:
1. The Parboil and Rough-Up
Before roasting, boil your potatoes in heavily salted water until they are just fork-tender. Drain them and give the pot a vigorous shake. This creates a starchy slurry on the surface of the potato.
Pro Tip: This "slurry" increases the surface area for the Maillard reaction. By roughening the exterior, you create tiny crags that catch the oil and turn into ultra-crisp ridges once they hit the oven.
2. The Heavy-Bottomed Skillet Sear
Transfer your parboiled potatoes to a preheated heavy-bottomed skillet. Use a digital scale to ensure you aren't overcrowding the pan, which would drop the temperature and lead to steaming.
Pro Tip: Heavy-bottomed pans like cast iron have high thermal mass. This prevents the "temperature dip" when cold food hits the pan, ensuring an immediate sear that locks in moisture.
3. The Smash and Spread
Use a heavy glass or a meat tenderizer to gently flatten each potato to about half an inch thick. This maximizes the contact between the potato and the roasting sheet.
Pro Tip: Smashing breaks the skin and exposes the internal starches. This allows for "conductive heating" where the heat transfers directly from the metal pan to the potato flesh for a deep gold finish.
4. The Infused Fat Bath
Instead of just drizzling oil, infuse your fat. Melt your oil with garlic and rosemary in a small saucier over low heat for five minutes before tossing it with the potatoes.
Pro Tip: This process is called lipid infusion. The essential oils in the herbs are fat-soluble, meaning the flavor will penetrate the potato more deeply than if you simply sprinkled dry herbs on top.
5. The Microplane Finishing Touch
Once the potatoes are out of the oven, use a microplane to grate fresh Parmesan or Pecorino Romano over them while they are still screaming hot.
Pro Tip: The residual heat causes the cheese to undergo "thermal carryover" melting, creating a lacy, crisp skirt around each potato without the need for additional cooking time.
6. The Acidic Deglaze
Halfway through roasting, toss the potatoes with a teaspoon of lemon juice or white wine vinegar.
Pro Tip: Acid strengthens the pectin in the potato cell walls. This prevents the potatoes from turning into mush and provides a "bright" counterpoint to the heavy fats used in roasting.
7. The Aerated Cooling Rack
Never let your roasted potatoes sit on a flat baking sheet once finished. Move them to a wire cooling rack immediately.
Pro Tip: Airflow prevents "sweating." If left on the pan, the bottom of the potato will trap steam, turning your hard-earned crunch into a soggy disappointment within minutes.
8. The Compound Butter Glaze
In the final two minutes of cooking, add a dollop of compound butter. Use a bench scraper to toss them quickly so every surface is coated in a viscous, glossy sheen.
Pro Tip: Adding butter at the end provides the flavor of milk solids without the risk of them burning during the long, high-heat roasting process.
The Deep Dive:
From a nutritional standpoint, small golden potatoes are surprisingly dense in potassium and Vitamin C. One serving provides about 110 calories with zero fat before you add your cooking oils. For those following specific diets, these are naturally gluten-free. To make them Keto-friendly, keep the portions small and focus on high-quality fats like grass-fed butter. For a vegan approach, replace honey in any glazes with agave and stick to avocado oil or coconut oil for the sear.
The Fix-It:
- Soggy Potatoes: Usually caused by overcrowding. Use two pans instead of one to allow steam to escape.
- Burned Garlic: If your garlic turns bitter, you added it too early. Add aromatics in the last 15 minutes of roasting.
- Uneven Cooking: This happens when potatoes are different sizes. Use a knife to halve the larger ones so every piece is uniform.
Meal Prep: To reheat and maintain "day-one" quality, avoid the microwave at all costs. The microwave agitates water molecules and turns the starch gummy. Instead, use an air fryer at 375 degrees for four minutes or a dry skillet over medium heat to re-crisp the skin.
The Wrap-Up:
You are now officially the master of the small golden potato. By understanding the science of starch and the power of conductive heat, you have elevated a simple root vegetable into a gourmet side dish. Remember to dry your potatoes thoroughly, never crowd the pan, and always finish with a hit of acid. Now, grab your tongs and get roasting!
The Kitchen Table:
Why are my roasted potatoes always soft?
You likely overcrowded the pan or didn't dry the potatoes before roasting. Excess moisture creates steam, which prevents the Maillard reaction. Ensure each potato has space for air to circulate and use a high-smoke-point oil.
Do I need to peel small golden potatoes?
No, the skin on small golden potatoes is incredibly thin and nutrient-dense. When roasted, the skin provides a necessary structural contrast to the creamy interior. Just scrub them well with a vegetable brush before cooking.
Can I use these hacks for Russet potatoes?
While the techniques work, Russets are starchier and have thicker skins. They are prone to falling apart. Small golden potatoes are preferred for these hacks because their waxy texture holds its shape during the "smashing" and "roughing" phases.
What is the best temperature for roasting small potatoes?
Aim for 400 to 425 degrees Fahrenheit. This high heat is essential for evaporating surface moisture quickly and creating a crisp exterior before the inside overcooks and becomes dry or mealy.