
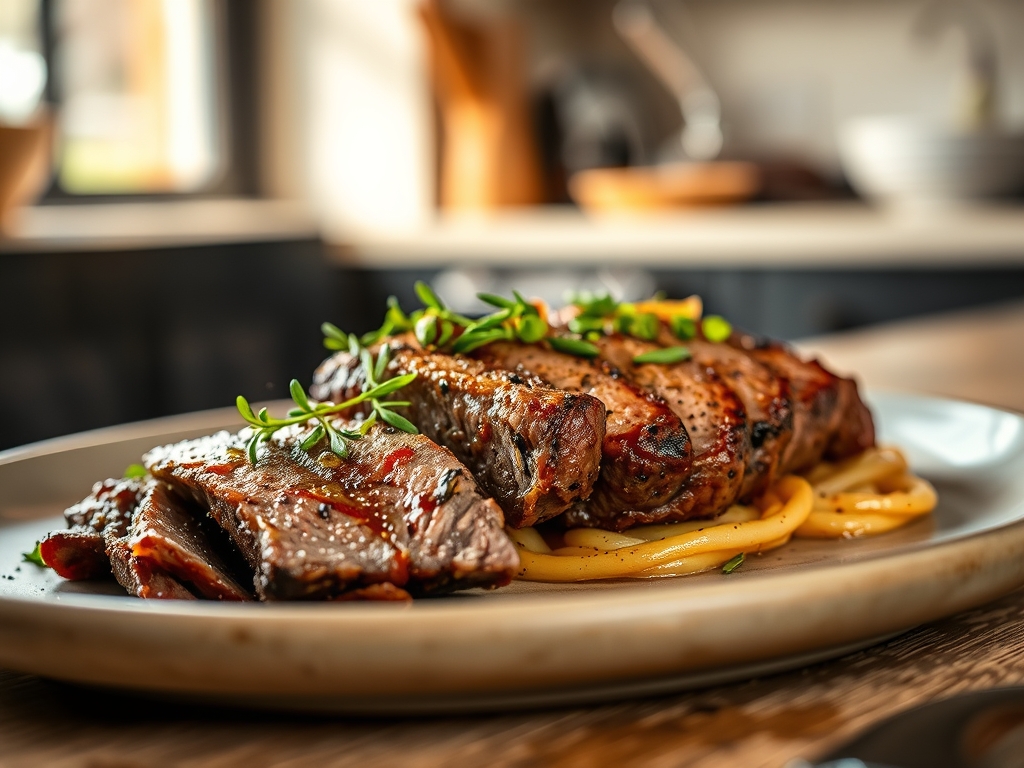
Picture this: a heavy-bottomed skillet screaming over high heat while the scent of rendered fat and toasted peppercorns fills your kitchen. We are moving far beyond the dry, gray Sunday roasts of the past. Today, we are mastering seasoned roast beef recipes that command attention through deep caramelization and scientific precision. It is about that perfect crust and the buttery, ruby-red interior that melts upon impact.
The secret to a show-stopping dinner is not just the cut of meat; it is the chemistry of the sear. We are talking about the Maillard reaction, where amino acids and reducing sugars transform into hundreds of flavor compounds. When you explore modern seasoned roast beef recipes, you are essentially conducting a high-heat experiment in deliciousness. Whether you are hosting a formal gala or a cozy family gathering, these six upgrades will turn your kitchen into a five-star steakhouse.
Grab your digital scale and your sharpest carving knife. We are about to elevate your roast beef from a simple meal to a culinary event. We will focus on texture, temperature control, and the bold infusions that make every bite a revelation. Let us get to work.
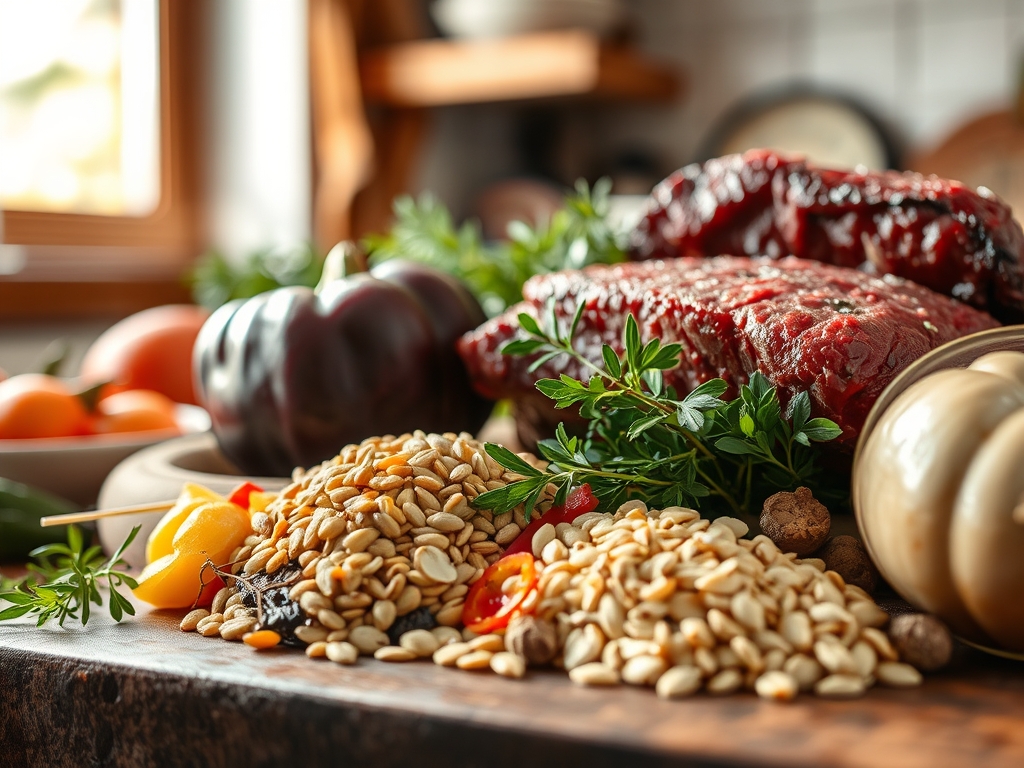
The Gathers:
To achieve a professional result, your mise-en-place must be flawless. Start with a high-quality cut like a three-pound top round or a center-cut beef tenderloin. The beef should be at room temperature to ensure even heat distribution. You will need coarse kosher salt for its jagged surface area and freshly cracked black pepper for a piquant bite.
Your aromatic arsenal should include fresh rosemary, thyme, and at least six cloves of garlic. For the fat component, choose a high-smoke-point oil like avocado oil or clarified butter (ghee). Do not reach for extra virgin olive oil here; it will smoke and turn bitter before the beef is properly seared. You will also need a splash of dry red wine or beef bone broth to deglaze the pan later.
Smart Substitutions:
If you lack fresh herbs, use a high-quality dried herbes de Provence, but reduce the volume by half as dried herbs are more concentrated. If you are avoiding alcohol, a tablespoon of balsamic vinegar mixed with beef stock provides the necessary acidity to balance the richness of the fat. For a spicy kick, swap the black pepper for crushed Aleppo pepper flakes.
The Clock (H2)
Efficiency in the kitchen is all about the Chef's Flow. This is the rhythmic sequence of tasks that prevents bottlenecks. Total active prep time is approximately 20 minutes, while the roasting period varies between 45 to 90 minutes depending on your desired internal temperature.
- The Temper (20-30 minutes): Never pull beef straight from the fridge to the oven. Let it sit on the counter to lose its chill.
- The Sear (10 minutes): This is the high-energy phase.
- The Roast (Variable): Low and slow is the goal for edge-to-edge pinkness.
- The Rest (15-20 minutes): This is non-negotiable for moisture retention.
The Masterclass (H2)
1. The Dry Brine and Temper
Pat the beef completely dry with paper towels. Moisture is the enemy of a good sear. Liberally coat the entire surface with kosher salt. Let it sit for at least 30 minutes.
Pro Tip: This process utilizes osmosis. The salt draws moisture out, dissolves into a brine, and is then reabsorbed into the muscle fibers; this seasons the meat deeply and breaks down tough proteins for a more tender bite.
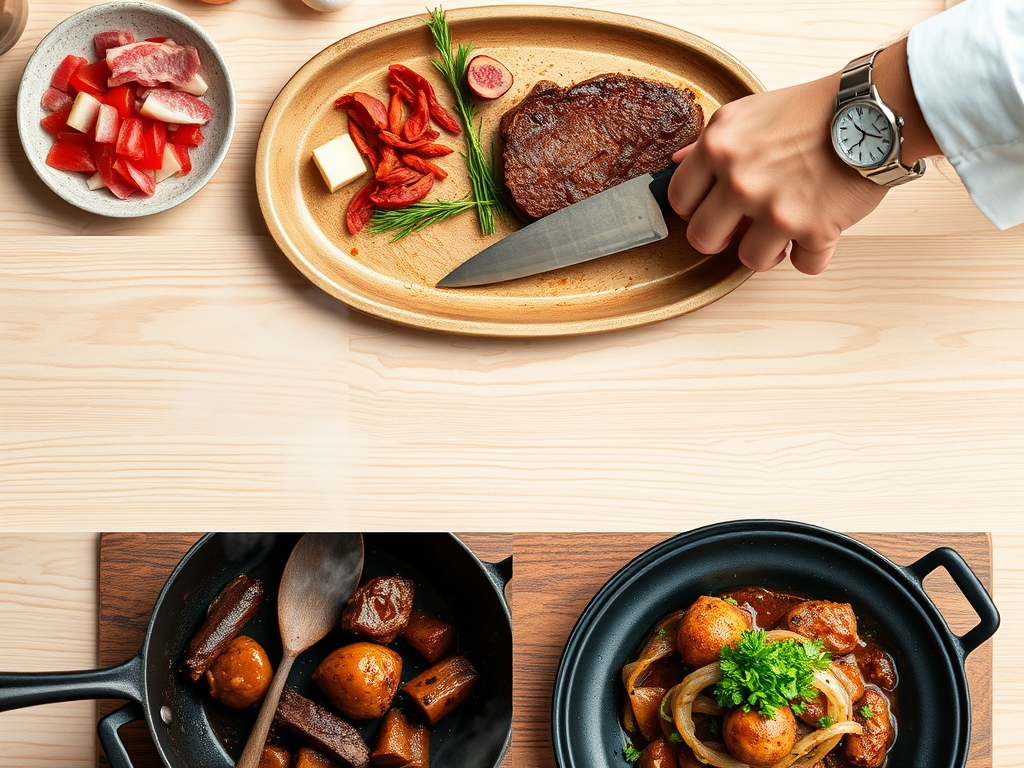
2. The High-Heat Sear
Heat your heavy-bottomed skillet until the oil is shimmering but not smoking. Use tongs to place the beef in the pan. Sear each side for 2 to 3 minutes until a deep brown crust forms.
Pro Tip: This is the Maillard Reaction in action. By searing at temperatures above 300 degrees Fahrenheit, you create complex flavor molecules that cannot be achieved through roasting alone.
3. The Aromatic Infusion
Lower the heat slightly and add your butter, smashed garlic, and herbs to the skillet. Use a large spoon to continuously pour the foaming, flavored butter over the beef.
Pro Tip: This technique is called basting. The fat acts as a heat transfer medium, ensuring the nooks and crannies of the meat are cooked while infusing the surface with fat-soluble herb compounds.
4. The Precision Roast
Transfer the beef to a wire rack set over a baking sheet. Insert a digital probe thermometer into the thickest part of the meat. Roast at 325 degrees Fahrenheit until it reaches your target temperature (130 for medium-rare).
Pro Tip: Using a wire rack allows for convection. Hot air circulates 360 degrees around the meat, preventing a soggy bottom and ensuring the crust stays crisp.
5. The Deglaze and Saucier Work
While the beef roasts, take that same skillet and add your wine or stock. Use a whisk or wooden spoon to scrape up the brown bits (the fond). Simmer until the liquid is viscous and coats the back of a spoon.
Pro Tip: Deglazing captures the concentrated meat juices and caramelized sugars left in the pan, transforming them into a sophisticated pan sauce through reduction.
6. The Carryover Rest
Once the beef hits 130 degrees, remove it from the oven and place it on a cutting board. Tent it loosely with foil and let it rest for at least 15 minutes before slicing.
Pro Tip: This accounts for thermal carryover. The internal temperature will rise another 5 to 10 degrees while resting. Furthermore, resting allows the muscle fibers to relax and reabsorb the juices; slicing too early causes the liquid to run out, leaving the meat dry.
The Deep Dive (H2)
Macro Nutrition:
A standard 4-ounce serving of seasoned roast beef provides approximately 250 calories, 30 grams of protein, and 14 grams of fat. It is a powerhouse of Vitamin B12 and Zinc, making it an excellent choice for muscle recovery and immune support.
Dietary Swaps:
- Keto: This recipe is naturally keto-friendly. Ensure your pan sauce is thickened via reduction rather than flour.
- Vegan: Substitute the beef with a whole roasted cauliflower head or seitan roast, using liquid smoke and soy sauce for umami.
- Gluten-Free: Ensure your beef stock is certified gluten-free and avoid using flour-based thickeners for the gravy.
The Fix-It:
- Gray Meat: If the interior is gray instead of pink, your oven was too hot. Lower the temp next time and use a digital thermometer.
- Tough Texture: You likely sliced with the grain. Always slice perpendicular to the muscle fibers to shorten them for a tender mouthfeel.
- No Crust: The pan wasn't hot enough, or the meat was wet. Use a cast-iron skillet for better heat retention.
Meal Prep Science:
To reheat without overcooking, slice the beef thin and submerge it in warm (not boiling) leftover pan sauce or au jus. This uses conductive heating to warm the meat gently, preserving the medium-rare center.
The Wrap-Up (H2)
Mastering seasoned roast beef recipes is a rite of passage for any home cook looking to flex their culinary muscles. By focusing on the science of heat and the precision of seasoning, you transform a simple protein into a luxury experience. Remember to trust your thermometer, respect the rest period, and always deglaze that pan. Your friends will be begging for your secrets; it is up to you if you want to share the science or just take the credit. Now, get into that kitchen and start searing!
The Kitchen Table (H2)
What is the best cut for roast beef?
For a balance of flavor and value, the Top Round or Sirloin Tip are excellent choices. For a luxury upgrade, choose a Center-Cut Beef Tenderloin or a Ribeye Roast for maximum marbling and tenderness.
Why is my roast beef always dry?
Dryness usually stems from overcooking or skipping the resting phase. Use a digital thermometer to pull the meat 5 degrees before your target temperature and let it rest for 15 minutes to redistribute the internal juices.
Can I cook roast beef from frozen?
It is not recommended. Cooking from frozen leads to uneven results where the outside is overcooked and the inside remains raw. Always thaw completely in the refrigerator and temper at room temperature before searing for the best texture.
How do I get a better crust?
The key is surface dryness. Use paper towels to remove all moisture from the meat's surface before searing in a ripping hot cast-iron skillet. This ensures the Maillard reaction happens instantly rather than steaming the meat.